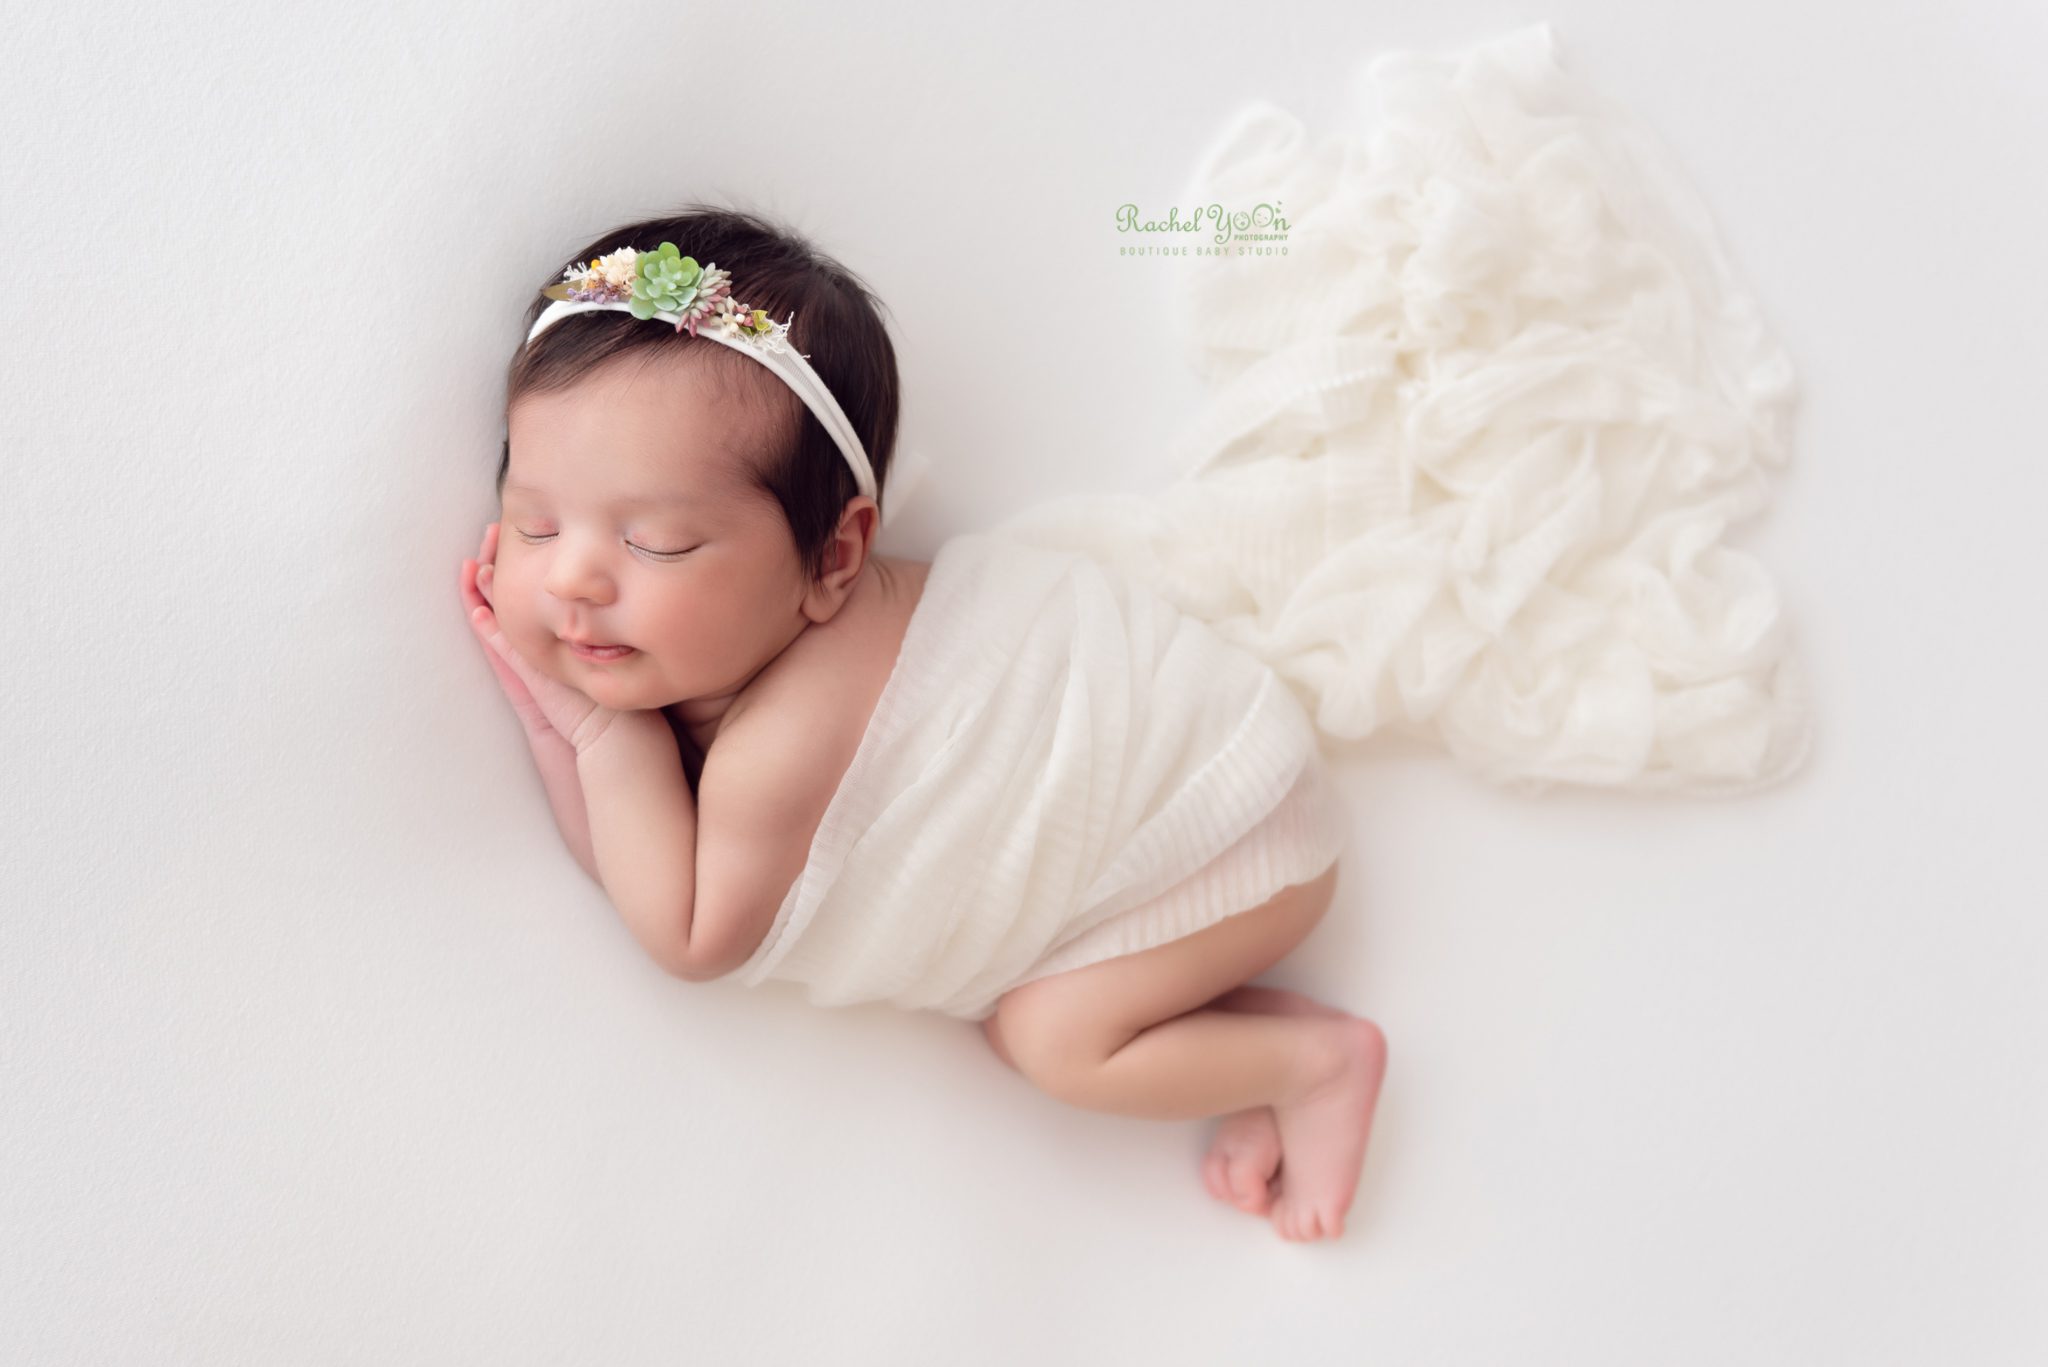
It is hard to believe it’s been almost a month since we did the last newborn session at our studio. We had to postpone a lot of newborn sessions and I feel the sadness that clients feel who were really looking forward to their baby’s newborn session. We’ve been offering to create a digital birth announcement for those clients with their own photos. Today, I’d like to share some tips for taking newborn photos at home so you can capture those first days to remember in the years to come.
1. Location for the best lighting
Find a spot where you get the most natural light. Take photos when the sun is not coming in directly, which will create harsh shadow. If the sun is coming in directly and if you have a white curtain, you can pull the curtain to use it as a diffuser. You can use the natural light 2 different ways. The standard way of using the natural light is to position your baby in a way that the natural light falls on your baby from 45 degree top right or left. And your camera will directly face your baby’s face.

The second way to use the natural light is to use it as a backlight. You can position your baby lying on the bed and you will be taking the photos facing the light. If your bed is not positioned right to try these two natural light photos, you can use a sofa cushion or layers of blankets, cover it with a soft white or neutral colour fabric and place the baby on top of it. Please make sure the cushion is big enough so there is no risk of your baby rolling off the cushion.
2. Using Camera or phone
If you have a DSLR digital camera, you want to set it to manual mode. Set the aperture at f/2.8 and adjust the exposure with the shutter speed and ISO. Try ISO 200 and shutter speed 1/160. If the image is over exposed (too bright), change the shutter speed to 1/200, 1/250, …. until you get the right exposure. If the image is under exposed (too dark) with the shutter speed 1/160. You could try 1/125 but I wouldn’t go lower than that as you could lose the focus and the image might not be as sharp. If it is still under exposed, increase ISO to 300, 400, 500, etc. until you have the right exposure. If you take photos with your phone, your phone will auto correct the exposure. As long as you are taking the photos at the right location (lighting I mentioned above), the images should turn out well. The backlighting might not work though. The exposure on your baby would be dark. But you can adjust exposure in editing. If your phone has portrait function, use it to take detail shots or close up images.
** Close up of the toes are always very cute. Use a soft towel or blanket to cover the legs.
3. Angle
The magic angle is when you see just tiny bit of your baby’s nostrils. If you see the entire nostrils, your angle is too low. If you don’t see the nostrils at all, your angle is too high.
** This is how much nostrils you want to show.
4. Simple poses you can do at home safely
You can have your baby lying on the bed and cover up to chest with arms out. If your partner can hold the blanket tight on both sides, the image will be cleaner but if not, that is still ok, too.
You can place your baby to lie down sideway, which is a very natural pose for the newborn baby and I do this post all the time. Then tuck in one hand under his/her cheek. If you could lift up where the hand is by putting a small wash tower under the blanket, you will see the baby face more.
Capture while mom is feeding. And capture while dad is helping the baby burp on his chest.
** I captured this image having the dad stand right at the window (backlighting example) and my camera is facing the window. When daddy burps the baby, typically he will hold the baby up closer to his shoulder. Capture that moment.
Capture open eyes while your baby is awake and expressions. Those are always my clients’ favourites. Make sure you are capturing them close up.
I hope these tips for taking newborn photos at home are helpful. I’d love to see your images trying these. However they turn out, they will be memorable and it will be a story to tell to your baby later on. If you have any questions, send me email. I’d love to help.
Taking newborn photos is always a challenging task. Capturing the best moments is always important. I find all your points useful. It is especially important to know the camera settings and the angle of the light. Thanks, Rachel for this blog. Hopefully, many like me have benefited.